As part of this order, I've been asked to take photos of the process. This is intended to give J (the giftee) a glimpse into the making of her one of a kind friend. I was going to make an album on Flickr -- but then I thought why not let everyone see?
It all starts with the head. Here's a head pre-skin.
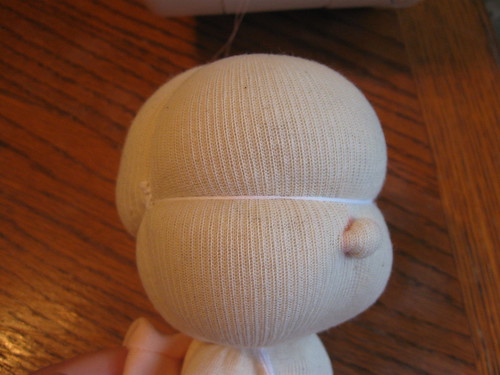
I've heard it said that getting the shape of the head just right is the trickiest part of Waldorf doll making. I'll agree to that. That, and getting the stuffing to the right firmness without lumps, bumps or breaks. It's difficult, and it takes a lot of practice.
Once the head is tied and shaped, and you're happy with how it looks - it's time to put the skin on.
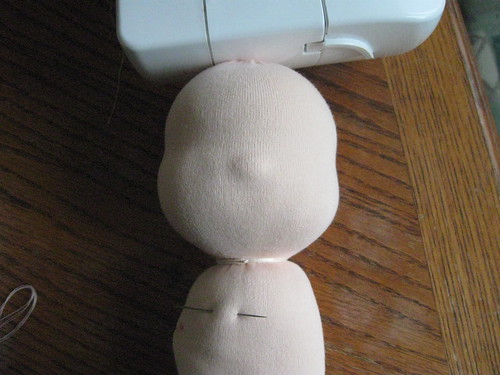
There is some detailing to do, to clean up your working surfaces - in this case, it's mostly done.
Now to attach the arms!
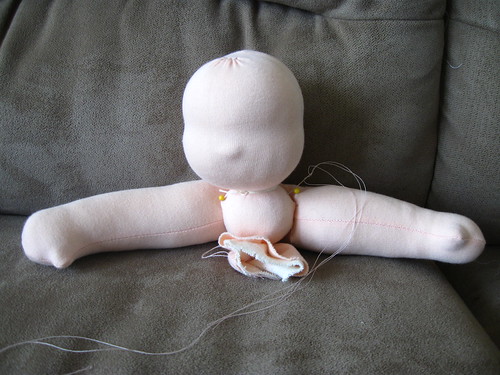
I've got them pinned, and waiting for stitching in this photo. Thanks to a lengthy simul-nap, the arms are now stitched in place.
I'll continue to post process pics as I go along. Keep watching!
we are so excited :) Again don't stress about the deadline - she's coming along great ... already J. is still naming her - first Jewel and now?? Wait and see :) We are loving this - thanks for taking pics along the way!
ReplyDelete